I had been watching videos on YouTube of other amateurs making Lora iGate digipeaters and thought I might give it a go. I had some 433mHz Liliygo TTGO boards lying around unused from other projects that I had played around with so I re-purposed one for this project.
Before I waffle on about how I made mine it may be easier to use the video I used on YouTube by LB5LJJ HERE
This project would not be as simple as it is if it were not for the work of CA2RXU you can find all the details on his Github page HERE
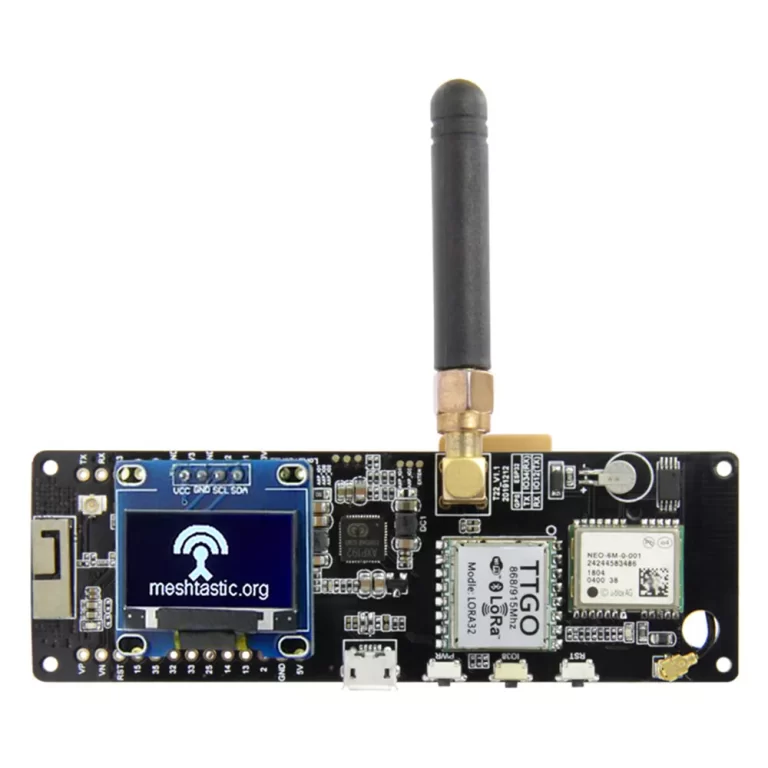
First you are going to need a Lora module, there are many supported by the CA2RXU webflasher but the one I used was a Lilygo TTGO board T3_V1.6.1 This would have cost about £17.00 when I first purchased it on AliExpress, and they are about £20.00 now.
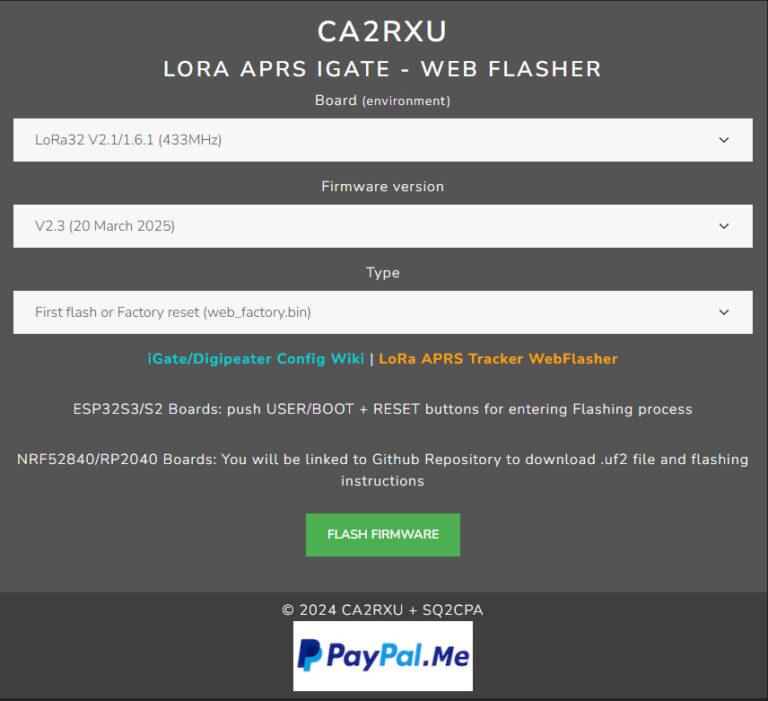
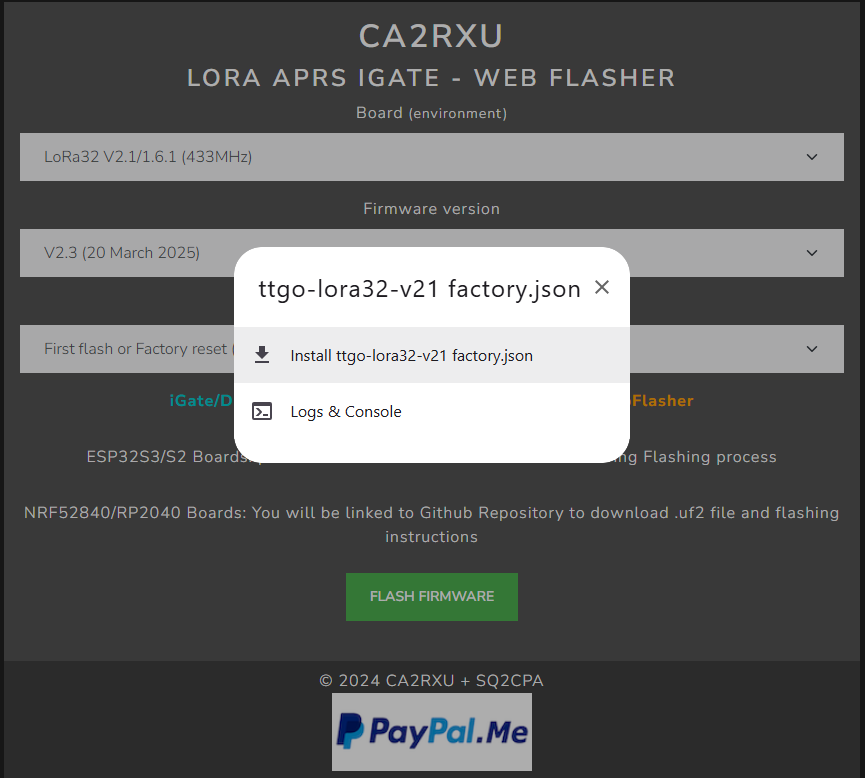
To look at the devices you can program and to do the actual programming then go to CA2RXU iGate webflasher webpage HERE you should see the webpage below
It is self explanatory, the top line is oviously for the type of board, mine is a Lilygo T3_V1.6.1 and I used Lora32 V2.1/1.6.1 (433Mhz)
The middle Line is the Firmware version and I left is on V2.3 (20 March 2025)
The bottom line you cannot change, so in my case I really didn’t have to change any settings
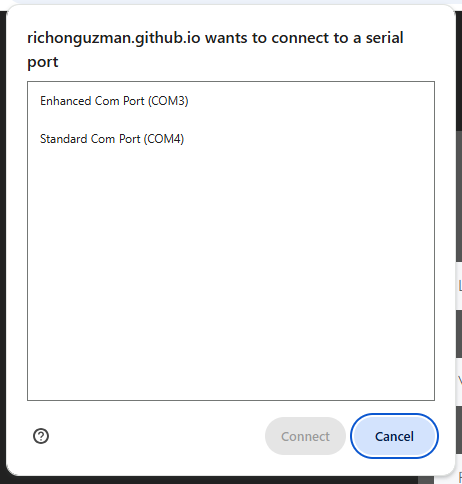
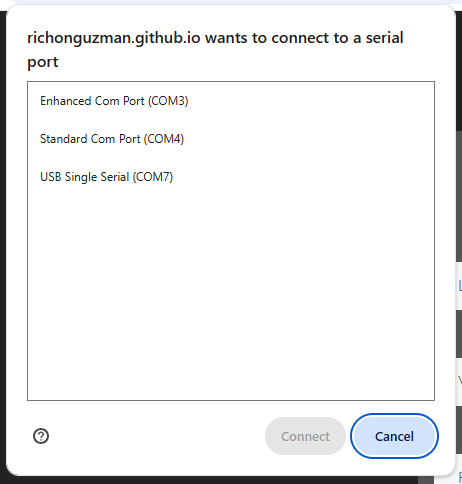
Finally you can flash the board by pressing the green “Flash Firmware” button. I would usually go into the windows device manager to discover the USB port number for the device, but the web flasher asks you to choose the port number so on this occasion I just looked at the ports available using the flasher without the device plugged in, then plugged in the device, the computer peeped to say the device was connect and of course there was another port available, when I looked for the device there was an extra port in this case it was COM7
Without device plugged in
And with device plugged in
A pop up window will appear, mine said Install ttgo-lora32-v21 factory.json but if you have different hardware this will be different to mine, just click on it
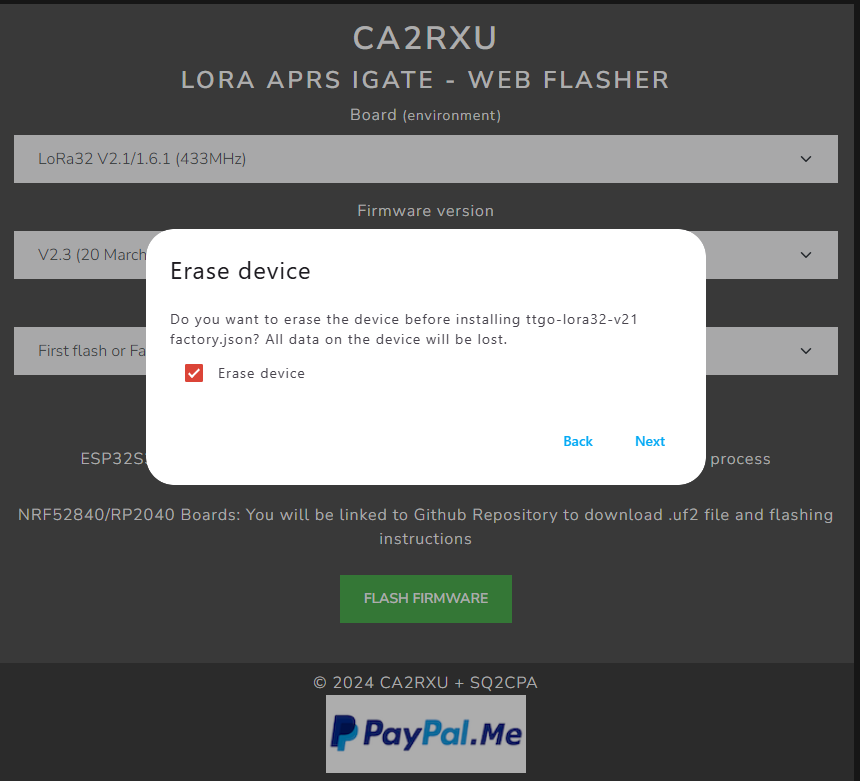
Another pop up window will appear, I clicked on the Erase device then the Next button
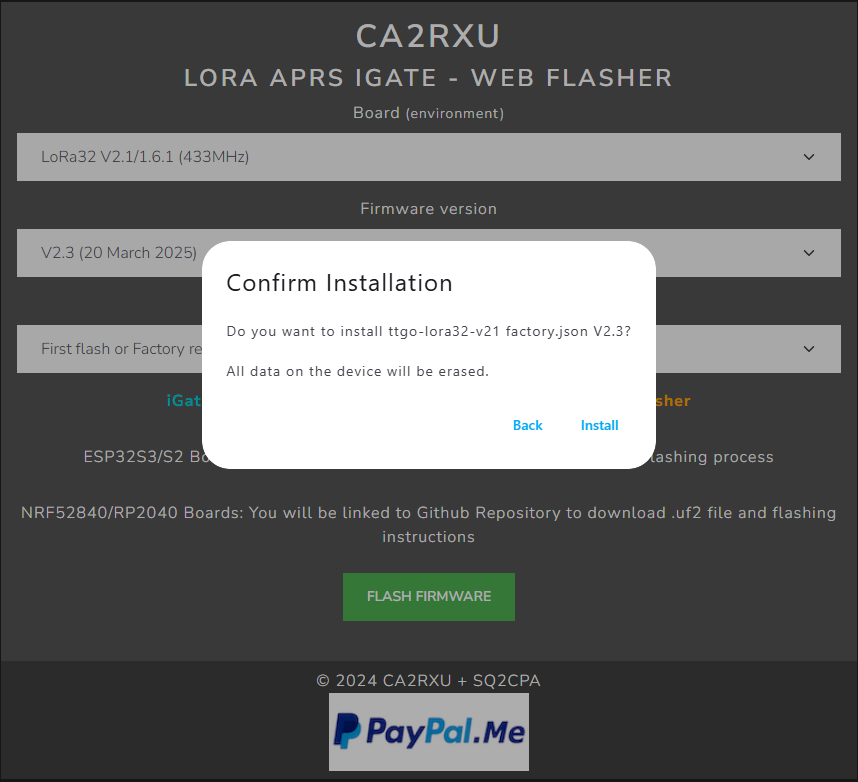
And yet another pop up window appears asking to confirm the download, I havn’t come all this way to decline and clicked on Install
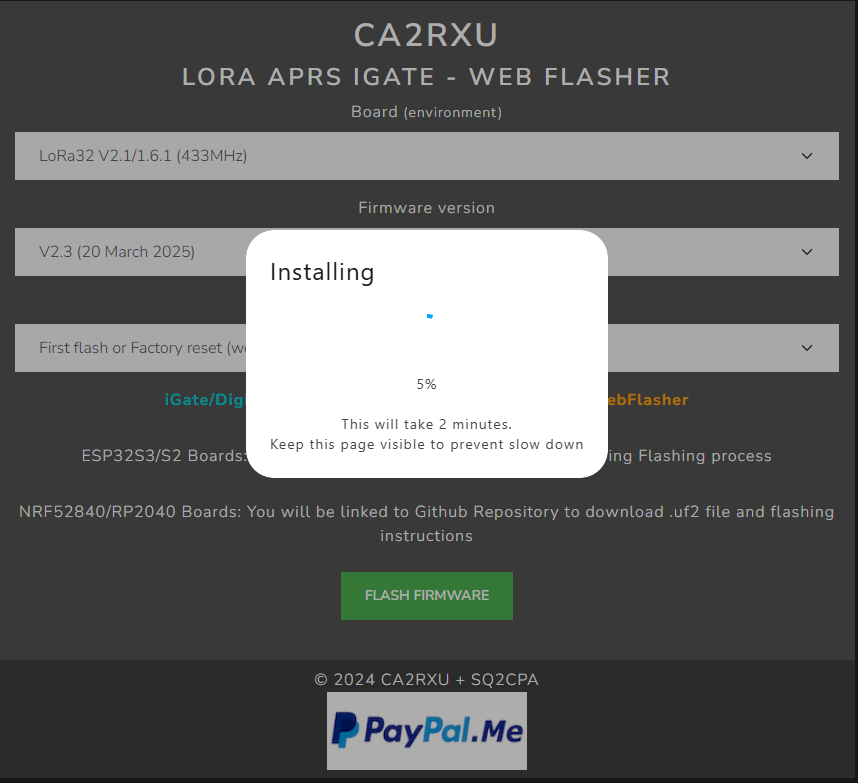
And wouldn’t you know it another pop up window showing the percentage of download, it takes a few minutes and will let you know when its wrapping up
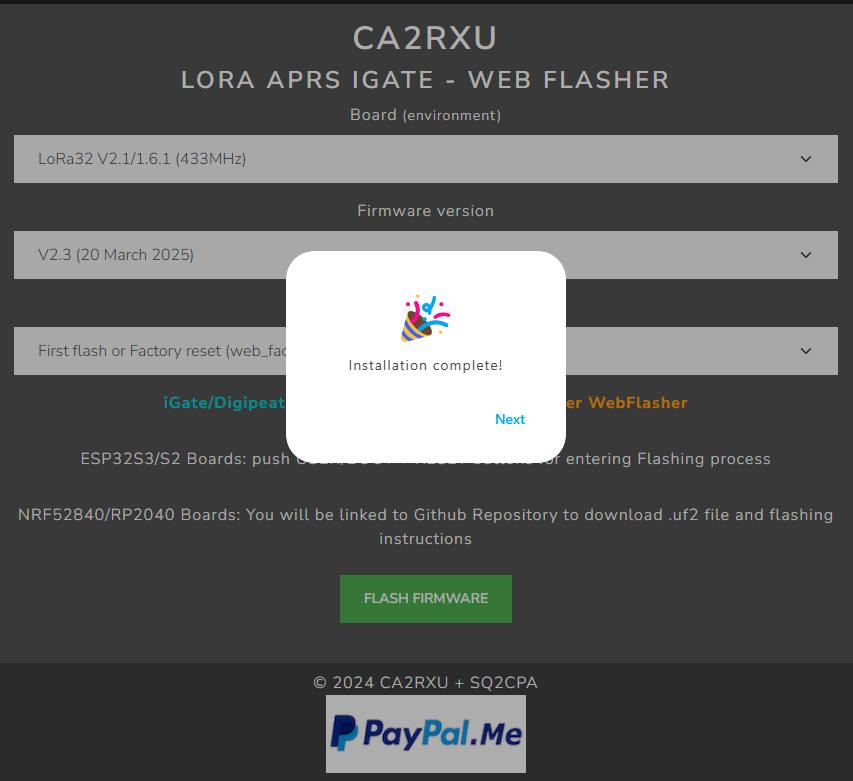
And I promise this is the last pop up window, saying installation is complete.
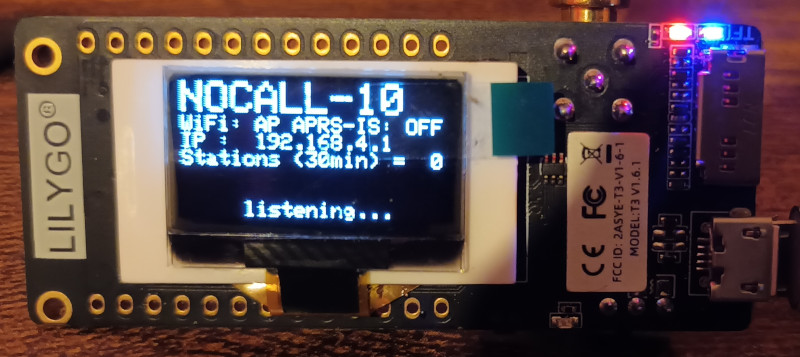
If all goes well then your device should boot up and show on the display NOCALL-10 and also the Access Point IP address 192.168.4.1